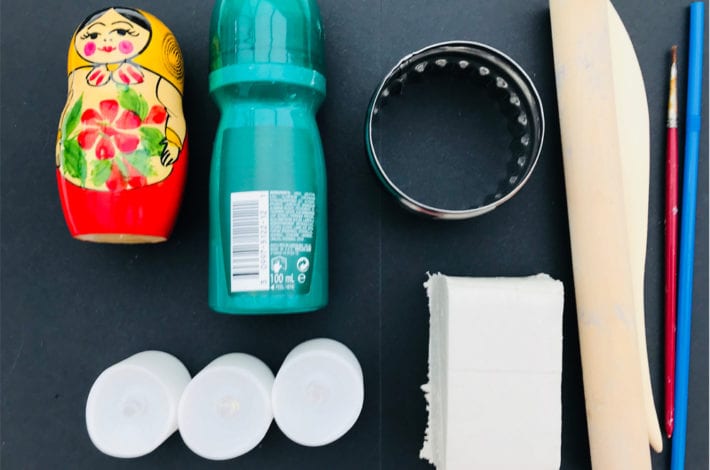
What you need:
- White air-drying clay
- Battery operated tea lights
- A rolling pin
- A round cookie cutter (or something round to cut around)
- Drinking straw or paint brush
- Cling film
- A mould – such as a deodorant stick, Russian doll or empty bottle
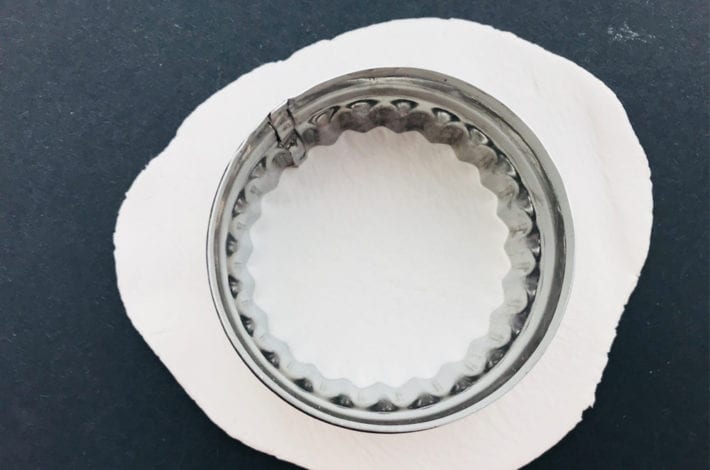
Step 1: Get rolling
Knead your clay into a ball and then roll it out using the rolling pin. You need it to be quite thin so that the light will shine through but not so thin that it starts to crack and break. Cut out a circle using the cookie cutter. If you haven’t got a cookie cutter (or haven’t got one in the right size) then find something round, such as a tin lid or plate, and cut round this instead.
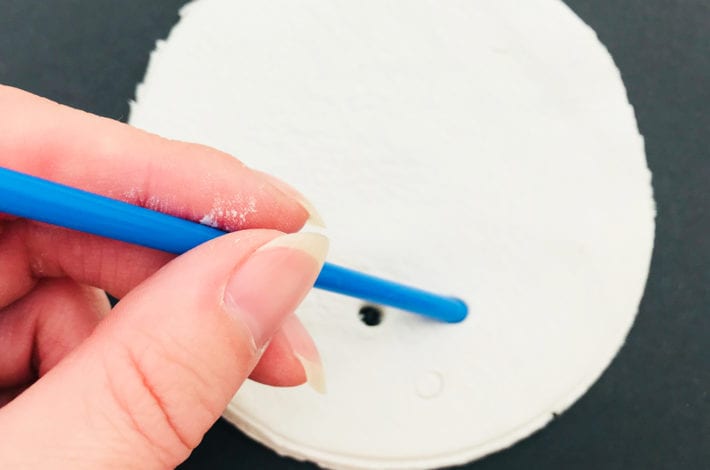
Step 2: Make the eyes and mouth
Lay out your ghost’s eye and mouth holes by starting a little bit lower than the centre of your circle. Use a drinking straw to make holes for the eyes and mouth. If you want the mouth to be bigger just wiggle your straw back and forth a bit to stretch the circle.
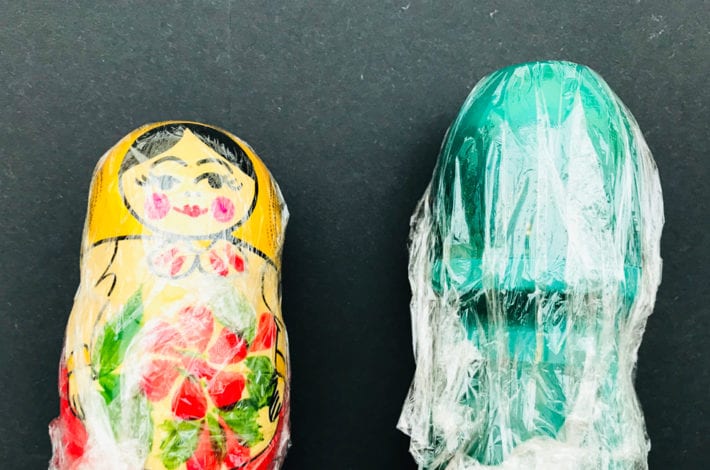
Step 3: Prepare your moulds
You now need a mould to shape your ghost. You can use anything that you have in the house that is a little wider than your tee light candle and preferably has a rounded top. A Russian doll is ideal but deodorant sticks work well too. You could also just use an empty plastic bottle. Cover your moulds with cling film to prevent the clay sticking to them.
Step 4: Shape your little ghosts
Gently pick up your clay circle and place it on your mould. With your fingers, gently pinch the sides of the circle to make folds so your ghost begins to look like the right shape. If your clay is a bit dry then you can get rid of any cracks by dipping your fingers in water to smooth out the clay. When you’re happy with the shape of your ghost leave it on the mould to dry overnight.
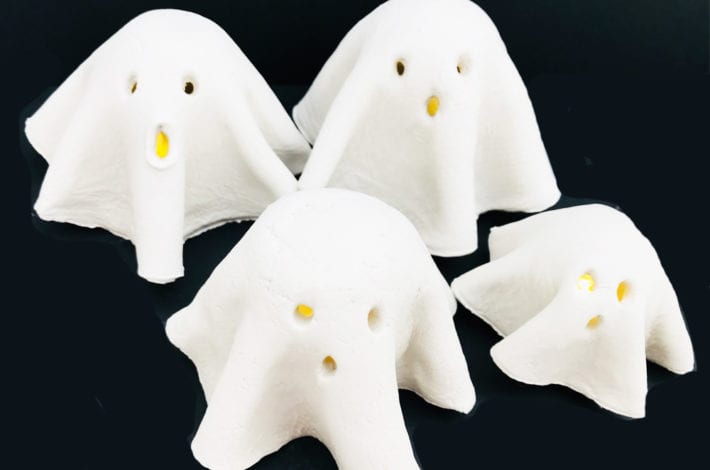
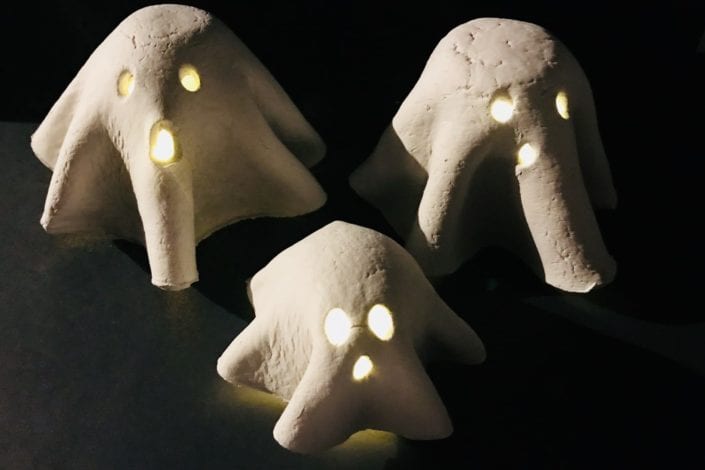
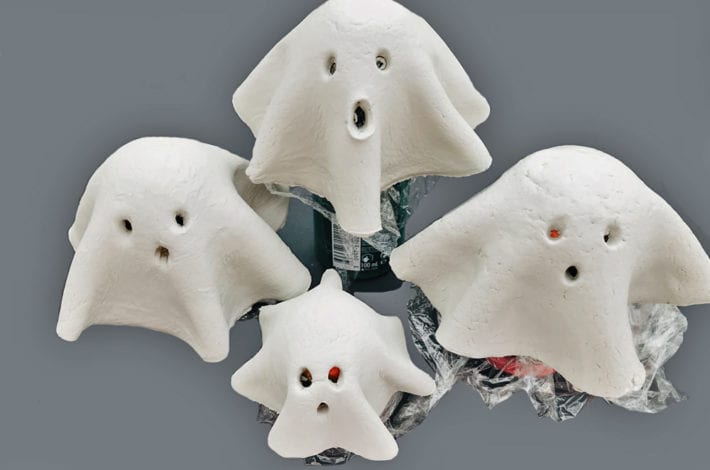
Step 5: Give them a ghostly glow
Now your clay is dry you can carefully take your ghost off the mould and pop it over a tee light candle.
Turn on the candle to give your ghosts an eerie glow.
Make a whole family of ghosts so they look great lined up on the mantelpiece