And you might be surprised at how much you love eating them because they taste amazing!
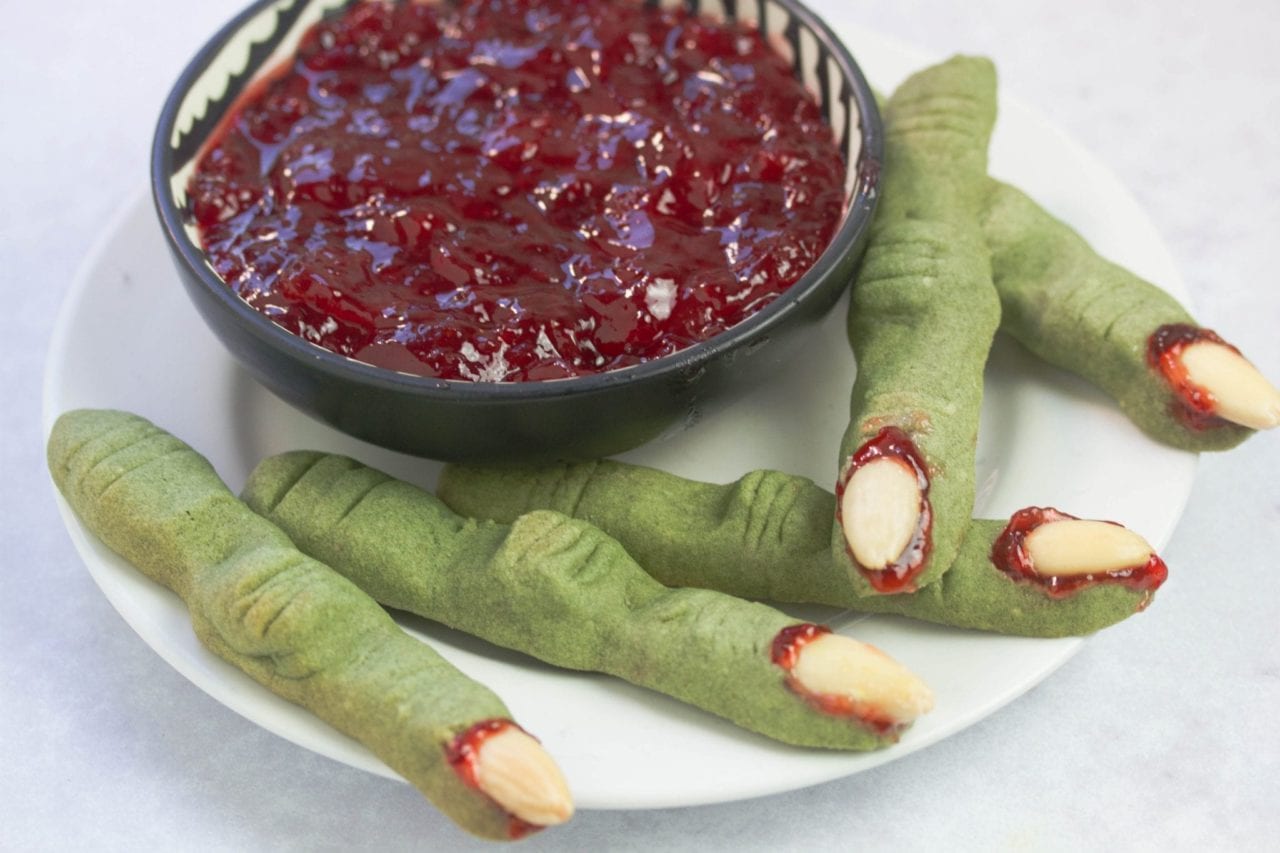
Without any artificial colourings, these fingers are naturally green using just spirulina, which is a seaweed powder considered by many to be a superfood with numerous health benefits. Even our ‘bloody nails’ are made using strawberry jam rather than red food dye.
So go ahead and give these a go for some spooky treats and natural goodness!
Summary
Prep: 30 minutes
Cooking: 15 minutes
Ages: Toddlers to Teens
Difficulty: Intermediate
Makes: 22 witch finger cookies
How to make witch finger cookies?
Witch finger cookies are easier to make than you think.
First you prepare a cookie dough, by first mixing the wet ingredients together and then adding in the dry ingredients.
Then it needs a 30 minute chill in the fridge which is essential to stop them flattening out too much in the oven.
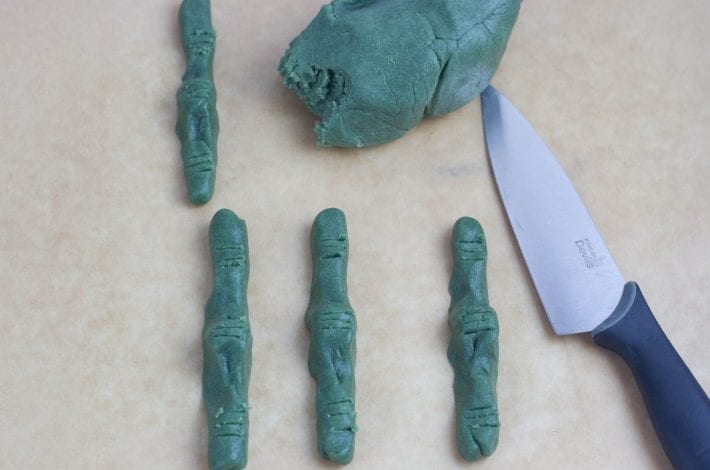
After that you take a small amount of your cookie dough and roll it first into a ball, then into a long thin cylinder.
You make two thumb or finger prints along the top to push out the ‘knuckles’. You take a sharp knife and cut thin lines for the wrinkles. Then you squeeze and shape them into knobbly fingers.
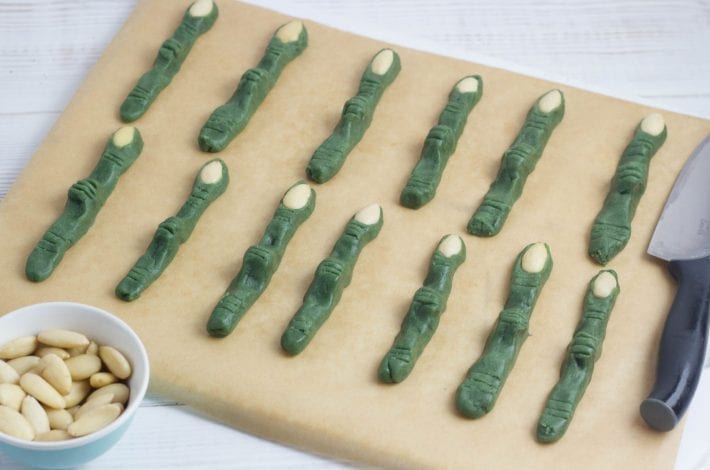
Push in an almond at the top and they’re good to go in the oven for 15 minutes!
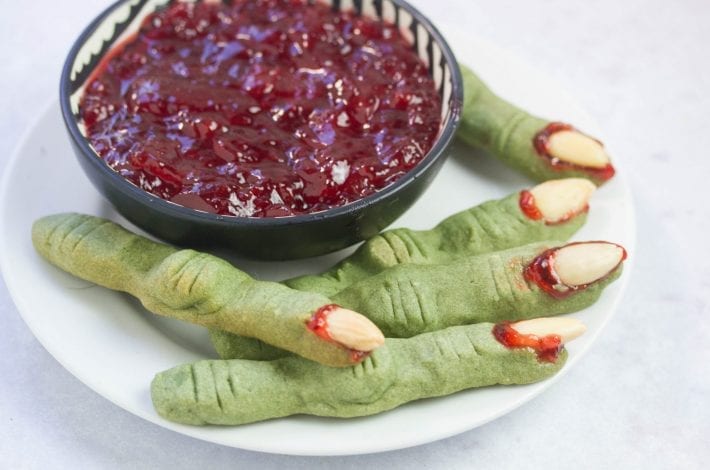
When they’re ready you can choose to add some strawberry jam to make the fingernails ‘bloody’.
And then serve them up and enjoy!
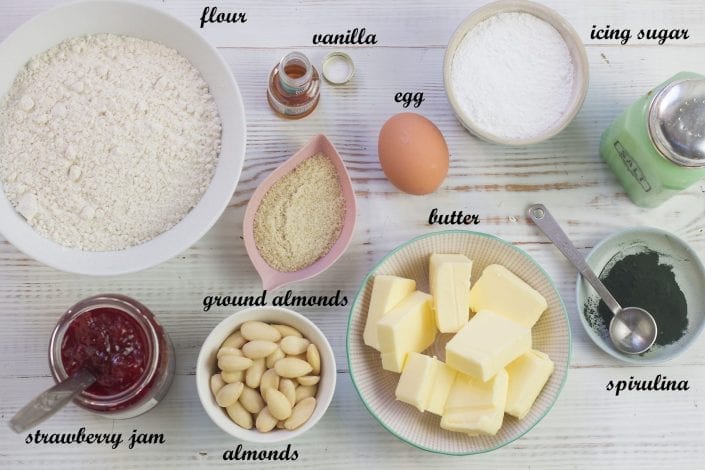
Ingredients
- 3/4 cup unsalted butter softened (170 grams)
- 3/4 cup icing sugar (100 grams)
- 1 egg
- 1 teaspoon vanilla extract
- 2 ¼ cups (270 grams) all-purpose flour
- 1 tablespoon ground almonds (optional)
- ½ teaspoon baking powder
- ½ teaspoon salt (put no salt if using slightly salted butter)
- 1½ teaspoons spirulina powder
- 22 almonds, blanched or whole
- 1 tablespoon strawberry jam (for decorating the fingernails)
Instructions
For the cookie dough:
- Preheat the oven to 220°C (or 430°F).
- Beat the softened butter and icing sugar together until it thickens. You can do this by hand with a whisk or with a handheld blender. Take care not to overbeat it and stop when it starts to thicken.
- Add in the egg and vanilla extract and mix together.
- Add in the flour, ground almonds, baking powder, salt and spirulina. Mix together until it forms a firm, sticky dough. You may have to use your hands to knead it towards the end, to make sure the spirulina is well distributed.
- Remove from the mixer or bowl, wrap the dough in cling film and chill in the fridge for at least 30 minutes. It can stay in overnight if you prefer.
For the witches fingers:
- When you’re ready to bake remove the dough from the fridge, tear off a small piece and roll it into a ball with your hands. It should be about half the size of a ping pong ball.
- Roll and squeeze it for a minute to make it smooth. Then roll it out into a cylinder about 8-10cm long and 1 cm wide. Make your fingers small as they will expand when cooked.
- Try to keep one end a little narrower for the finger tip. Lay each long thin cylinder on a non-stick baking tray or on greaseproof paper in an oven dish.
- Firmly press down with two thumbs, at two places along the length of the finger.
- In the area between and around the thumbprints, take a smooth, sharp knife and make three parallel slits close to one another for the wrinkles. Do this in 3 places on the finger.
- Squeeze the area that you have just imprinted your thumb in together firmly to make the finger ‘knobbly’ and to give it knuckles. Make them VERY knobbly, as they will flatten out a little in the oven.
- Finally, take a blanched almond and push it into the ‘end’ of your finger firmly, until the dough overlaps and comes over the top of it a little.
- Then smooth out the finger tips to make them narrow again.
- Cover your tray of witch finger cookies with foil and place on the middle shelf of the oven to bake for 15 minutes. They should be cooked through but not browned by the end.
- When they’ve cooled a little, remove the almond from the finger tip and carefully brush on some strawberry jam underneath it. Then return the almond to its position and press it down firmly so the strawberry jam squeezes out the sides. Enjoy your gory Halloween treat!
Note: Please be aware of any guests with nut allergies as this recipe contains ground almonds in the batter – which are optional and can be removed – and whole almonds for the finger nails.
Naturally green witch finger cookies – our step by step guide:
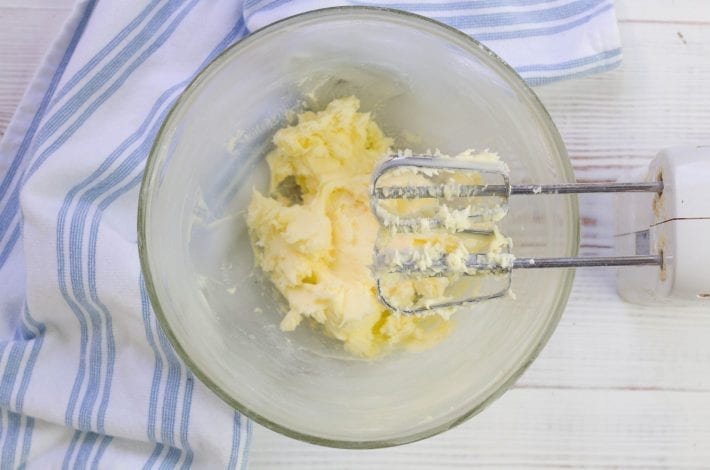
Beat the icing sugar and butter together.
Preheat the oven to 220°C (or 430°F).
Using a whisk or a handheld mixer, beat the icing sugar with the softened butter until it thickens.
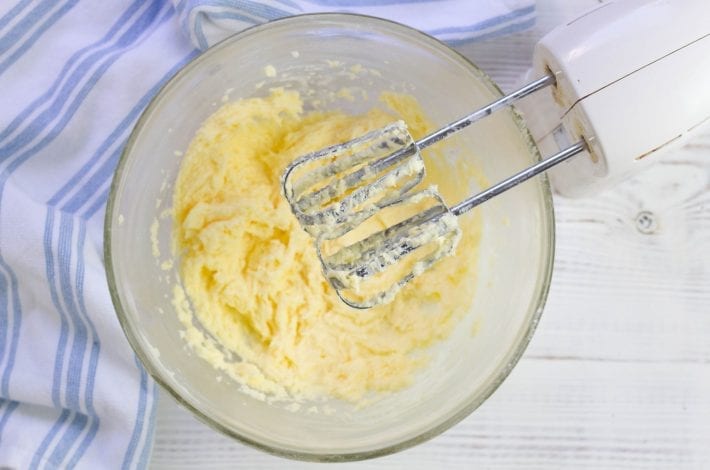
Add in the egg and vanilla essence
Mix in the egg and vanilla essence and beat to combine.
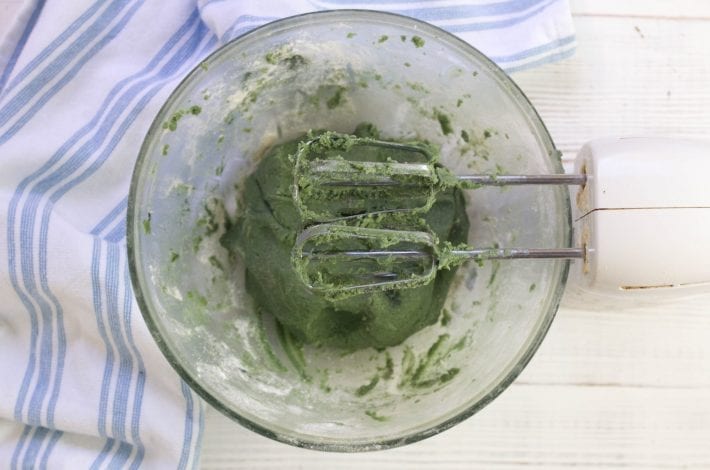
Mix in your dry ingredients
Mix in your flour, ground almonds, baking powder, salt and spirulina.
You may have to mix it with your hands towards the end to get the spirulina evenly distributed.
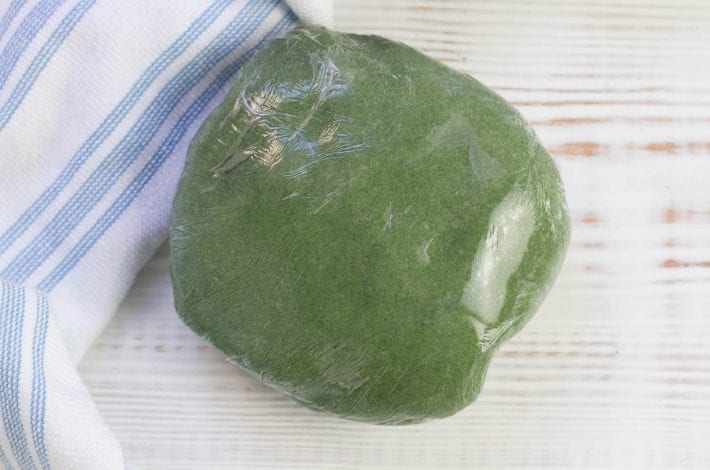
Wrap with cling film and chill for 30 minutes
This step is essential. Wrap up your cookie dough and chill it for 30 minutes or overnight in the fridge.

Roll out small balls of dough
When you’re ready to start, break off pieces of the dough and roll into small balls, about 3 cm in diameter.
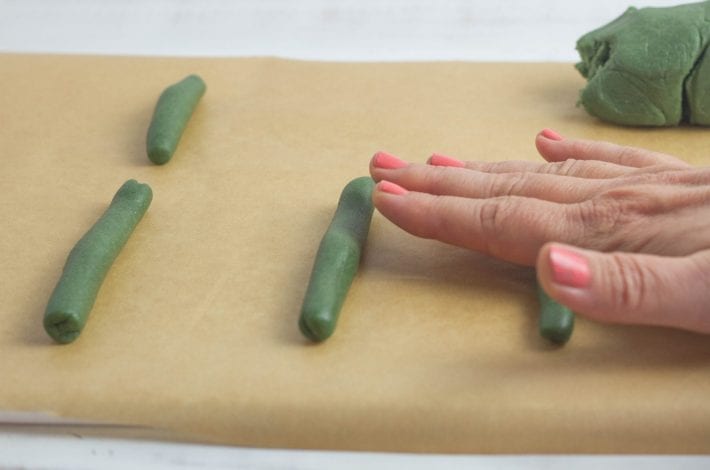
Roll the balls out into long cylinders
Using your hands or on some greaseproof parchment paper, roll the balls out into long fingers.
We recommend making your fingers thin and smaller than you would like them to be at the end, as they expand in the oven.
Lay them out on a baking tray that’s either greased or lined with parchment paper.
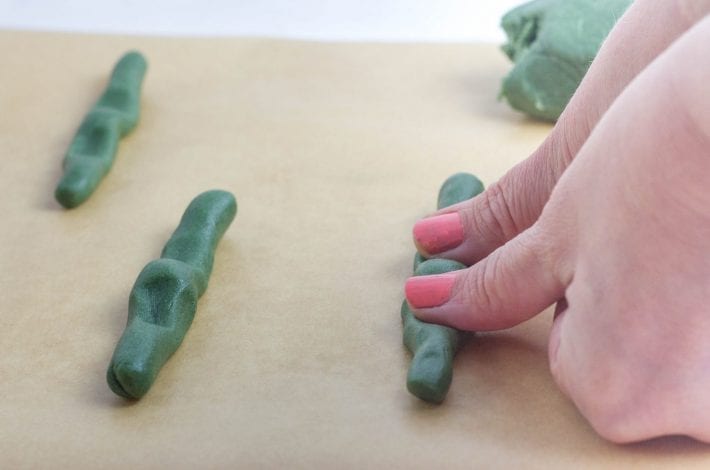
Make two thumbprints
Using two thumbs or fingers, press down on each finger in two places.
This is to accentuate the knuckles in between the imprints.
Make some wrinkles
In the 3 areas around your 2 thumbprints, take a sharp smooth knife. Cut out 3 sets of 3 shallow lines to make your wrinkles.
They should be parallel to one another.
Squeeze to make knobbly fingers and add the fingernails
One of the most important steps is to now squeeze in the areas where you made your thumbprints, so that they come inwards and so that the knuckles protrude out.
Make your fingers as knobbly as you can as they do flatten out a bit in the oven.
Take a blanched almond and press it firmly into the finger tip. Allow the dough to come up around it.
Then shape the finger tip into a point so that it looks like a nail and cuticle.
Cover with foil and bake for 15 minutes
Cover your oven tray or baking dish with aluminium foil.
Bake your witch finger cookies in the oven for 15 minutes. They should be cooked through but not browned.
When they’re ready, take them out and let them cool down.
If you would like to make ‘bloody fingernails’ then gently lift off the blanched almond and brush some strawberry jam underneath. Then carefully place the almond back on top and push down to finish.
Enjoy your gory Halloween treat!
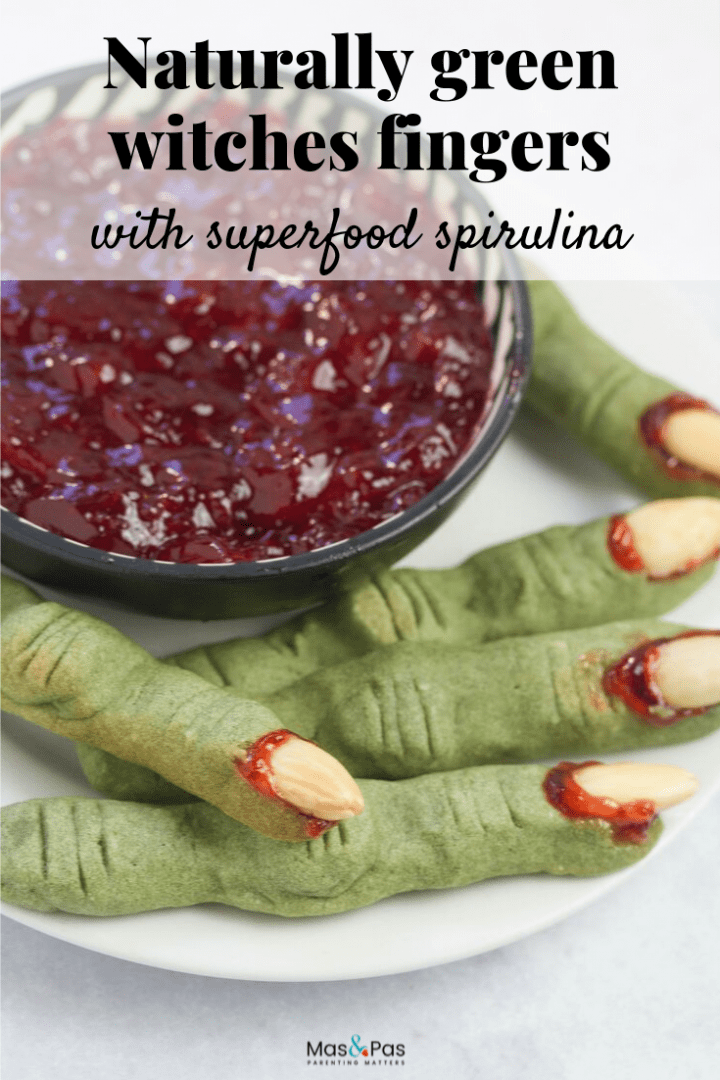

Naturally green witches fingers
Perfect for Halloween parties or baking with kids, these witch finger cookies are quick and easy to make.
And you might be surprised at how much you love eating them because they taste amazing!
Ingredients
- 3/4 cup unsalted butter softened (170 grams)
- 3/4 cup icing sugar (100 grams)
- 1 egg
- 1 teaspoon vanilla extract
- 2¼ cups plain flour (270 grams)
- 1 tablespoon ground almonds (optional)
- ½ teaspoon baking powder
- ½ teaspoon salt (if using slightly salted butter then add no extra salt)
- 1½ teaspoons spirulina powder
- 22 almonds blanched (or whole)
- 1 tablespoon strawberry jam
Instructions
For the cookie dough
-
Preheat the oven to 220°C (or 430°F).
-
Beat the softened butter and icing sugar together until it thickens. You can do this by hand with a whisk or with a handheld blender. Take care not to overbeat it and stop when it starts to thicken.
-
Add in the egg and vanilla extract and mix together.
-
Add in the flour, ground almonds, baking powder, salt and spirulina. Mix together until it forms a firm, sticky dough. You may have to use your hands to knead it towards the end, to make sure the spirulina is well distributed.
-
Remove from the mixer or bowl, wrap the dough in cling film and chill in the fridge for at least 30 minutes. It can stay in overnight if you prefer.
To form the witches fingers
-
When you’re ready to bake remove the dough from the fridge, tear off a small piece and roll it into a ball with your hands. It should be about half the size of a ping pong ball.
-
Roll and squeeze it for a minute to make it smooth. Then roll it out into a cylinder about 8-10cm long and 1 cm wide. Make your fingers small as they will expand when cooked.
-
Try to keep one end a little narrower for the finger tip. Lay each long thin cylinder on a non-stick baking tray or on greaseproof paper in an oven dish.
-
Firmly press down with two thumbs, at two places along the length of the finger.
-
In the area between and around the thumbprints, take a smooth, sharp knife and make three parallel slits close to one another for the wrinkles. Do this in 3 places on the finger.
-
Squeeze the area that you have just imprinted your thumb in together firmly to make the finger ‘knobbly’ and to give it knuckles. Make them VERY knobbly, as they will flatten out a little in the oven.
-
Finally, take a blanched almond and push it into the ‘end’ of your finger firmly, until the dough overlaps and comes over the top of it a little.
-
Then smooth out the finger tips to make them narrow again.
-
Cover your tray of witch finger cookies with foil and place on the middle shelf of the oven to bake for 15 minutes. They should be cooked through but not browned by the end.
-
When they’ve cooled a little, remove the almond from the finger tip and carefully brush on some strawberry jam underneath it. Then return the almond to its position and press it down firmly so the strawberry jam squeezes out the sides. Enjoy your gory Halloween treat!


